
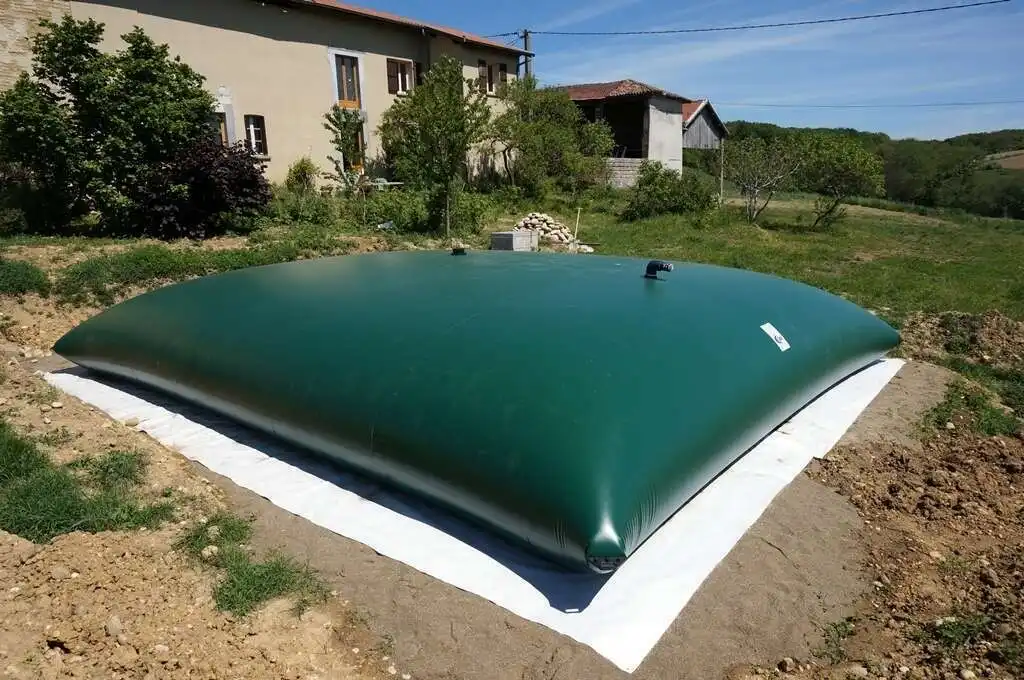
How to repair a leaking pillow tank: the complete guide
Your pillow tank is leaking — water bladder, sheet tank, flexible reservoir or collapsible storage tank. Before considering a replacement, know that most leaks can be repaired successfully and for good. This guide covers diagnosis, choosing the right kit, the repair itself and prevention.
- Diagnosing a leak: types of damage and how to locate it
- Repair kit: what it must contain
- Preparing the repair
- Repair steps for a pillow tank
- Repair by fabric type: PVC, TPU, EXOM
- Advanced techniques: large tears and welded seams
- Maintaining and cleaning a fire-water reserve
- Maintenance schedule and prevention
- When to replace rather than repair
- Frequently asked questions
Diagnosing a leak: types of damage and how to locate it
Before doing anything, you must pinpoint the nature and location of the leak. Get it wrong and you repair the wrong spot while the real leak keeps running.
| Symptom observed | Likely damage | Area to inspect first |
|---|---|---|
| Puddle under the tank, level dropping slowly | Pinhole or small tear in the base or sides | Underside and side folds |
| Damp patch around a fitting | Loose thread or worn gasket | All ports, valves and the overflow |
| Leak at the inspection hatch | Hatch gasket compressed or damaged | Hatch perimeter and clamping bolts |
| Diffuse seeping over a flat area | Delamination or UV ageing of the fabric | Upper face exposed to the sun |
| Clear leak in a straight line | Tear from overpressure or a sharp object | High-frequency welded seams, corners |
| Level drops with no visible leak | Leak in the base over absorbent ground | Beneath the tank — check the ground for damp |
Locating, step 1 — dry visual inspection. Partly empty the tank. Inspect the whole surface under raking light (hold a torch horizontally): ridges, creases and pinholes become visible.
Locating, step 2 — soapy water test. Apply soapy water (diluted washing-up liquid) with a sponge over every suspect area. Keep slight pressure in the tank: bubbles reveal the exact point of the leak.
Locating, step 3 — mark it immediately. Once found, ring the leak straight away with a waterproof marker. It can be very hard to find again once the surface dries.
Pillow tank repair kit: what it must contain
An effective repair kit is not universal: what it contains depends on your tank’s fabric. Here is what it must include.
| Item | Purpose | Essential? |
|---|---|---|
| Patches in the same fabric (PVC, TPU or EXOM) | Cover and seal the damaged area | ✅ Yes — the patch must match the fabric |
| Contact adhesive or fabric-specific glue | Bonding the patch, lasting seal | ✅ Yes |
| Primer / surface activator | Improves adhesion — essential on TPU and EXOM | ⚠️ Depends on the fabric |
| Abrasive paper, 80–120 grit | Light sanding to key the surface | ✅ Yes |
| Isopropyl alcohol or acetone | Final degreasing before application | ✅ Yes |
| Lint-free cloths | Cleaning and drying the area | ✅ Yes |
| Roller or rigid squeegee | Even pressure to drive out air bubbles | ✅ Yes (a smooth bottle will do) |
| Round-tipped scissors | Cutting the patch with rounded corners | ✅ Yes |
⚠️ Do not use a generic “plastic repair” kit: adhesives made for rigid PVC, pool liners or agricultural sheeting are not compatible with every technical fabric. The patch will lift within weeks.
Preparing the repair
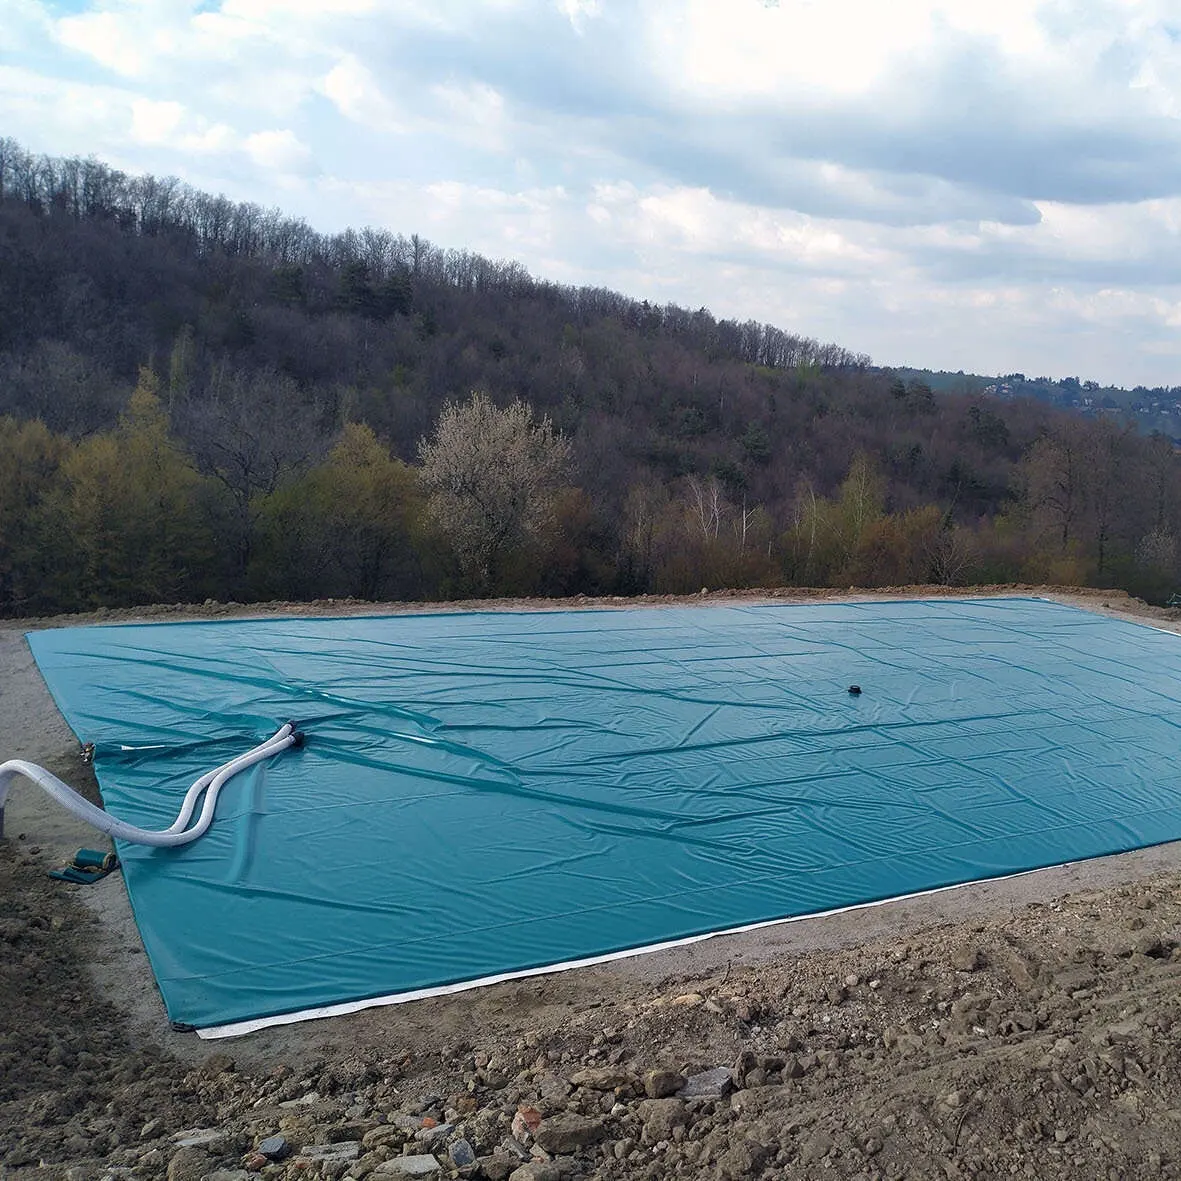
Careful preparation accounts for 80% of success. A poorly prepared surface gives a patch that lifts within the first 48 hours.
Step 1 — Empty the tank (ideally completely). For the best result the tank should be empty. If the leak is high on a side wall, partial emptying may be enough.
Step 2 — Make the work area safe. Enough light (torch or floodlight). A clean, stable surface. Protective gloves. Clothes you don’t mind getting wet while draining.
Step 3 — Clean the area generously. Wash around the damage with clean water: remove every trace of algae, biofilm, limescale or soil. These deposits prevent any bonding.
Step 4 — Dry it perfectly. Lint-free cloth, then 15 to 30 minutes of air drying. A damp surface completely defeats contact adhesive. It is the number one cause of failure.
Step 5 — Sand lightly and degrease. Sand (80–120 grit) over an area slightly larger than the intended patch. Then degrease with isopropyl alcohol or acetone and let it evaporate fully.
Repair steps for a pillow tank
Step 1 — Cut the patch. At least 3 cm of margin all round the damage. Always round off every corner with scissors — square corners are where lifting starts.
Step 2 — Glue both sides. Apply a thin, even coat of contact adhesive to the patch AND the tank. Respect the open time (usually 5–10 minutes) before joining.
Step 3 — Lay from the centre outwards. Place the patch centre on the centre of the damage, then smooth progressively towards the edges, driving out the air. Never lift the patch once it has made contact.
Watch the video below showing a patch being applied in real conditions:
Step 4 — Respect the curing time. Let it dry as the kit instructs (typically 24–48 h before partial filling, 72 h before filling completely). Do not rush it.
Step 5 — Test for leaks progressively. Fill to 20–30% and wait two hours. Inspect the patch and its edges. If everything is dry, continue gradually. If it seeps, drain and start the preparation again.
💡 Trade tip: with no roller to hand, a smooth glass bottle (an oil bottle, say) works perfectly to apply even pressure across the whole patch.
Bear in mind that some repairs will not last if the tank is old and the fabric heavily UV-degraded. In that case, replacement works out cheaper in the long run.
Repair by fabric type: PVC, TPU, EXOM
Using the wrong adhesive for the fabric is the leading cause of failure. Match your kit to your fabric.
| Fabric type | Characteristic | Recommended adhesive | Primer? | Watch out for |
|---|---|---|---|---|
| PVC-coated polyester | The most common — grey, green or beige | Neoprene adhesive or dedicated PVC glue | No (unless the surface is very smooth) | Perfectly dry and degreased |
| TPU (thermoplastic polyurethane) | Translucent, flexible, resistant to hydrocarbons | Two-part polyurethane adhesive | Yes — PU primer essential | Short open time — work quickly |
| EXOM / EXOM+ | High resistance — from −30 °C to +70 °C | Dedicated EXOM adhesive (from the maker) | Yes — dedicated primer | Contact the manufacturer — DIY not advised |
| Polyethylene (PE) | Rigid or semi-rigid tank | Polyolefin adhesive + activating primer | Yes — activation essential | Often better: professional hot-air welding |
⚠️ How to identify your fabric: check your tank’s data sheet or the label attached to it. If in doubt, contact Flocea with a photo of the tank and its label.
Advanced techniques: large tears and welded seams
Repairing a large tear (> 5 cm)
A single patch may not be enough for a substantial tear. Use the multi-layer technique:
- First apply an internal patch (inside the tank if you can reach it) to close the tear.
- Then apply a slightly larger external patch, centred on the same spot.
- Allow 24 hours of curing between the two layers.
- For a long linear tear, overlap several patches by at least 3 cm, working from the bottom upwards.
Repairing high-frequency welded seams
- Clean the seam meticulously: residues gather in the crevices and block adhesion.
- Use a seam-specific primer if one is available.
- The patch must extend at least 4 cm beyond the seam on each side.
- Press with the back of a rigid spoon over the raised areas to ensure the adhesive makes full contact.
Maintaining and cleaning a fire-water reserve
Fire-water reserves are subject to periodic inspection by the local Fire and Rescue Service, at intervals set by the relevant authority. Poor maintenance can lead to the tank being taken out of service.
1 — Annual draining and inspection. Empty completely once a year (ideally in spring). Inspect the inner membrane with a torch: traces of biofilm, sediment, worn areas.
2 — Cleaning the inner walls. Clean water at low pressure (max 30 bar, wide nozzle). Avoid harsh chemicals — a neutral biological cleaner at pH 6–8 is sufficient.
3 — Inspecting the draw-off assembly. Check the gate valve (grease if needed), look for corrosion on the couplings, assess the column gasket. Clean the suction screen.
4 — Checking the overflow and filling. Make sure the overflow is not blocked. Check the mains connection for leaks. The tank must stay full and available at all times.
5 — Access for appliances. The draw-off area (min 4 m × 8 m) must stay clear and trafficable. Check that vegetation has not encroached on the access, the state of the hardstanding, and the signage.
| Frequency | Action | Estimated time |
|---|---|---|
| Monthly | Visual check of level, signage and access to the draw-off area | 10 min |
| Quarterly | Membrane inspection, gate valve opening test | 30 min |
| Annual | Full drain, internal clean, check of all connections | 4–6 h |
| Official inspection | Fire service visit — tank full, access clear, signage in place | Visit of 1–2 h |
The applicable framework and inspection intervals are set by the fire safety authority for your area — check with them before planning your maintenance.
Maintenance schedule and leak prevention
| Frequency | Preventive action | Time |
|---|---|---|
| Monthly | Visual check of fittings, overflow and areas close to the ground | 5–10 min |
| Quarterly | Detailed inspection of seams, ports, filling and draw-off systems | 30 min |
| Every six months | Clearing the surroundings (debris, vegetation), checking UV protection on exposed tanks | 1 h |
| Annual | Full check-up: internal inspection, seam and fitting checks, leak test | 2–4 h |
Essential prevention rules:
- Ground beneath: flat, clean and free of stones. A 5 cm bed of fine sand protects against abrasion pinholes.
- Pumping pressure: never exceed the maximum working pressure stated on the tank.
- UV protection: exposed tanks degrade three to five times faster. A simple shelter multiplies their life.
- Winterising: drain before frost or insulate. A frozen tank under pressure can split.
For the specific upkeep of crawl space tanks and agricultural tanks, see the dedicated guides in our technical section.
When your tank needs replacing
-
Sale!

Pillow tank 10 m³ 10,000 litres – agricultural liquid fertiliser storage
Original price was: €604.00.€529.00Current price is: €529.00. excl. VAT Add to basket -
Sale!
Pillow tank 30 m³ 30,000 litres – slurry and farm effluent storage
Original price was: €1,200.00.€1,083.00Current price is: €1,083.00. excl. VAT Add to basket -
Bespoke pillow tank – temporary or permanent potable water storage
€1.00 excl. VAT Add to basket -
Sale!
Pillow tank 6 m³ 6,000 litres – rainwater harvesting and storage
Original price was: €468.00.€399.00Current price is: €399.00. excl. VAT Add to basket
Some signs make it clear that a repair will not last:
| Sign observed | Diagnosis | Recommendation |
|---|---|---|
| Fabric brittle, cracked or crumbling to the touch | Advanced UV ageing across the whole surface | Replace |
| Widespread delamination (coating separating from the fabric) | End of life for the technical fabric | Replace |
| Three or more repairs in 24 months | Several weak areas at once | Preventive replacement |
| Seam open over more than 10 cm | Structural failure | Replace or return to the manufacturer |
| Tank over 15–20 years old and UV-exposed | Nominal service life reached | Professional assessment recommended |
Frequently asked questions about pillow tank repair
Can a pillow tank be repaired without emptying it completely?
For a repair above the waterline, partial emptying may be enough. For the base or submerged sides, the tank must be empty. Repairing “under water” fails every time: no contact adhesive bonds to a wet surface.
Will the repair affect the quality of the stored water?
No, provided you use a kit suited and approved for your application. For drinking water tanks, use only materials meeting the minimum hygiene requirements of Directive (EU) 2020/2184 for materials in contact with water intended for human consumption. Check the kit’s data sheet before applying.
How long does a well-made repair last on a flexible tank?
A properly executed repair can last as long as the tank itself — several years. Failures come down to a poorly degreased surface, too small a patch, or curing time not respected.
What is the difference between repairing a pillow tank and a rigid plastic tank?
Repairing a rigid plastic tank (polyethylene) usually calls for hot-air welding rather than an adhesive patch, because bonding to PE is difficult without specific activation.
Can you repair a fire-water reserve yourself?
Yes for small leaks, but with care: notify your local fire authority, since the tank is unavailable during the repair and curing (48–72 h). Test for leaks before declaring it operational again.
How do you maintain a fire-water reserve to avoid it being taken out of service?
Three things decide whether an inspection passes: (1) the tank full on the day of the visit, (2) the draw-off area clear and accessible to 16-tonne appliances, (3) the required signage visible.
Can the patch lift over time?
A well-applied patch does not lift by itself. Lifting always has a cause: a poorly degreased surface, the wrong adhesive, curing time ignored, or too small a patch. If an edge starts to lift, act at once.
Can you paint over the repair to hide it?
Not advisable. Some paints attack adhesives and reduce the effectiveness of the patch’s UV protection. The aim of a repair is durability, not looks — always favour the former.
In summary — five rules for a successful repair:
- Pinpoint the leak with soapy water and mark it immediately with a waterproof marker.
- Use a kit matched to your fabric (PVC, TPU, EXOM) — a generic kit will not hold.
- A perfectly dry, degreased surface — the one non-negotiable; any trace of damp defeats the adhesive.
- Oversize the patch (3 cm of margin minimum) and round off the corners with scissors.
- Respect the full curing time (72 h before filling to capacity) — no shortcuts.
For any complex repair, a fire-water tank, or if you cannot find the right kit for your fabric, contact our team or call +33 7 56 81 31 11.